과제/팀과제
[Django] 팀 프로젝트 : 백오피스 프로젝트(5) - 프론트엔드 기능 구현
마이구미+
2023. 5. 12. 22:26
<카테고리별 전체글 보기>
- 어제 구현한 건데 코드를 약간 수정했다
...
<li class="nav-item dropdown">
    <a class="nav-link dropdown-toggle" href="/posts/post_list.html" id="studyDropdown"
        role="button" data-bs-toggle="dropdown" aria-expanded="false">
        study
    </a>
    <ul class="dropdown-menu" aria-labelledby="navbarDropdown">
        <li><a class="dropdown-item" onclick="handleClickCategory('study')">
                전체 게시글보기</a></li>
        <li><a class="dropdown-item" href="#">팔로잉 게시글 보기</a></li>
    </ul>
</li>
<li class="nav-item dropdown">
    <a class="nav-link dropdown-toggle" href="/posts/post_list.html" id="restDropdown" role="button"
        data-bs-toggle="dropdown" aria-expanded="false">
        rest
    </a>
    <ul class="dropdown-menu" aria-labelledby="navbarDropdown">
        <li><a class="dropdown-item" onclick="handleClickCategory('rest')">
                전체 게시글보기</a></li>
        <li><a class="dropdown-item" href="#">팔로잉 게시글 보기</a></li>
    </ul>
</li>
...- 어제는 a 태그에 id="study", id="rest" 이렇게 해서 온클릭 함수 매개변수로 this.id 이렇게 넣었었는데 두 버튼은 자바스크립트에서 만들어지는 게 아니고 계속 html에 있는 버튼이기 때문에 그냥 매개변수에 'study', 'rest'를 넣으면 된다고 해서 그렇게 고쳤다
- 그리고 handleClickCategory를 실행하면 카테고리명이라는 매개변수를 가지고 그 안에서 postCategory 함수를 실행해서 카테고리명이 담긴 url을 만들어줬었는데 그러면 handleClickCatetory는 단순히 카테고리명만 받아서 그대로 보내주는 거라 굳이 그럴 필요가 없었다 두 함수를 합치면 되는 거였다
// loader.js
// 공부 or 휴식 게시판 클릭 시 html에 있는 카테고리 이름을 가져와서 url에 카테고리명을 담음
function handleClickCategory(category_name) {
    const categoryName = category_name
    console.log(categoryName)
}

function postCategory(categoryName) {
    window.location.href = `${frontend_base_url}/posts/post_list.html?category=${categoryName}`
}
- 원래 이렇게 되어 있었는데 아래와 같이 고쳤다
// loader.js
// 공부 or 휴식 게시판 클릭 시 html에 있는 카테고리 이름을 가져와서 url에 카테고리명을 담음
function handleClickCategory(category_name) {
    window.location.href = `${frontend_base_url}/posts/post_list.html?category=${category_name}`
}- 그냥 아래 함수에 위에 함수명만 가져왔다 ㅋㅋㅋ
- 콘솔로그는 기능 구현이 완전히 끝나면 없애야지..!
<카테고리별 팔로잉 게시글 보기>

- 이 부분을 구현하고자 한다
- 내가 팔로잉 하는 사람들이 study 카테고리에 올린 게시글들을 모아볼 수 있는 기능이다
// api.js
// 카테고리별 전체 게시글 조회
async function getPosts(categoryName) {
    const response = await fetch(`${backend_base_url}/posts/category/${categoryName}/`)
    console.log(response)

    if (response.status == 200) {
        const response_json = await response.json()
        return response_json
    } else {
        alert("불러오는 데 실패했습니다")
    }
}- 우선 이 기능이랑 비슷할 것 같아서 이 코드를 그대로 복사해서 이름을 getFollowingPosts로 바꿨다
- 그리고 url은 백엔드에서 구현한대로 저기에서 뒤에 followings/를 붙였다
...
<li><a class="dropdown-item" onclick="clickFollowingPosts('study')">팔로잉 게시글 보기</a></li>
...
<li><a class="dropdown-item" onclick="clickFollowingPosts('rest')">팔로잉 게시글 보기</a></li>
...- html에서 클릭할 때 실행되는 함수로 clickFollowingPosts라는 함수를 넣었다
// loader.js
// 공부 or 휴식 게시판 팔로잉 게시글 보기 클릭 시 html에 있는 카테고리 이름을 가져와서 url에 카테고리명을 담아서 그 url로 이동시킴
function clickFollowingPosts(category_name) {
    window.location.href = `${frontend_base_url}/posts/post_list.html?category=${category_name}&q=followings`
}- 원래는 전체게시글 url과 똑같이 하려고 했는데 해보니까 안 됐다 시스템이 인식을 못하는 것..?같았다 여튼
- 그래서 팔로잉 게시글 보기 클릭 시 전체 게시글 보기 url에서 뒤에 followings를 추가한 url로 이동하게끔 함수를 만들었다
- 페이지 이동하고 실행되는 함수는 loadPosts 그대로 썼다
- 대신 내부 로직을 수정했다
- if문을 넣어서 url에 followings가 있으면 getFollowingPosts 함수를 실행하고 없으면 getPosts 함수를 실행하게끔 했다
// post_list.js
// 카테고리별 (팔로잉) 게시글 리스트 보기
window.onload = async function loadPosts() {
    // url에서 카테고리 이름을 가져옴
    const urlParams = new URLSearchParams(window.location.search);
    const categoryName = urlParams.get("category");

    console.log(categoryName)

    // url에 파라미터 q가 있으면 팔로잉 게시글을 가져오는 함수를 실행하고
    // 없으면 전체 게시글을 가져오는 함수를 실행함
    // 카테고리 이름을 매개변수로 백엔드에서 해당 카테고리의 글들을 가져옴
    if (urlParams.has("q")) {
        posts = await getFollowingPosts(categoryName)
    } else {
        posts = await getPosts(categoryName)
    }
...- 이렇게 하니까..무려...401 Unauthorized 에러가 떴다
- 로그인을 안 하면 팔로잉 목록이 없으니까 로그인된 사용자에게만 보이게끔 백엔드에서 로직을 짰다
- 포스트맨으로 테스트할 때 header에 사용자 정보를 넣어준 것처럼이 프론트에서도 그렇게 했어야 했는데
- 그걸 몰랐다
- 그래서 한참을 헤매다가 팀원분이 같은 오류를 겪어서 그렇게 해야 한다는 걸 알려주셨다!!
// api.js
// 카테고리별 팔로잉 게시글 조회
async function getFollowingPosts(categoryName) {
    let token = localStorage.getItem("access")

    const response = await fetch(`${backend_base_url}/posts/category/${categoryName}/followings/`, {
        method: "GET",
        headers: {
            "Authorization": `Bearer ${token}`
        },
    })
    console.log(response)

    if (response.status == 200) {
        const response_json = await response.json()
        return response_json
    } else {
        alert("불러오는 데 실패했습니다")
    }
}- 이렇게 수정하니 카테고리별 팔로잉 게시글 목록이 제대로 나오는 것을 확인할 수 있었다!
<카테고리별 게시글 작성>
- 우선 post_list.html에 글쓰기 버튼을 넣어줬다
- 어떤 카테고리에 가든 공통적으로 글쓰기 버튼이 들어갔음 했다
...
<body>
    <header></header>
    <div class="container">
        <div class="text-center mb-3">
            <button type="button" class="btn btn-outline-success"
                onclick="handlePostButton(window.location.search)">글쓰기</button>
        </div>
        <div class="row row-cols-1 row-cols-md-3 g-4" id="post-category-list"></div>
    </div>
</body>
...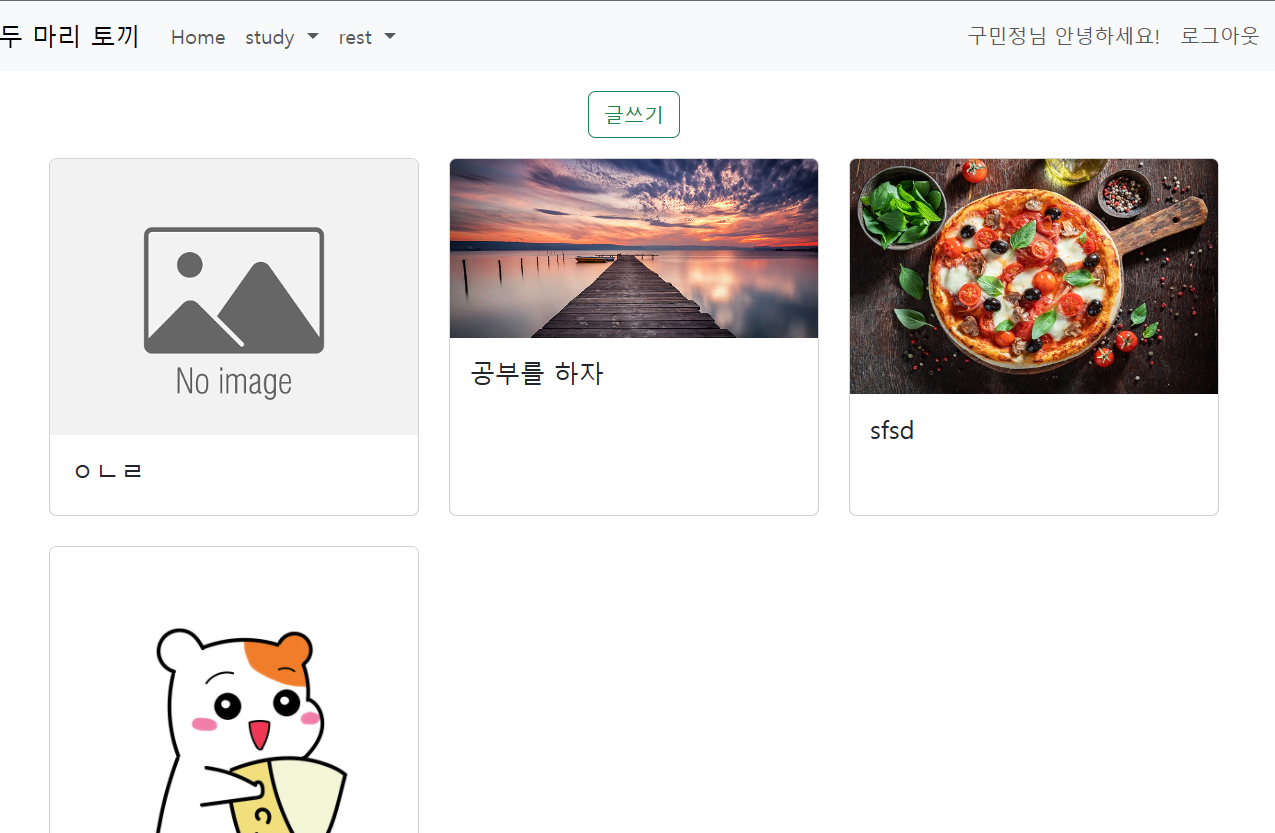

- 이렇게 글쓰기 버튼이 생겼다
- 기능 구현이 중요하니 css는 신경쓰지 말자....!
<button type="button" class="btn btn-outline-success"
onclick="handlePostButton(window.location.search)">글쓰기</button>- 글쓰기 버튼을 클릭하면 handlePostButton이라는 함수가 실행되면서 글쓰기 버튼이 있는 해당 url의 파라미터를 매개변수로 보낸다
// loader.js
// 카테고리명을 pk값으로 바꿔주는 작업
function handlePostButton(url) {
    const urlParams = new URLSearchParams(url);
    const postCategory = urlParams.get("category");
    if (postCategory == "study") {
        category_pk = 1
    } else if (postCategory == "rest") {
        category_pk = 2
    }
    window.location.href = `${frontend_base_url}/posts/post_create.html?category=${category_pk}`
}- 이 함수는 글쓰기 버튼이 위치한 페이지의 url에 담긴 study와 rest를 pk값으로 변경해서 글쓰기 페이지의 url로 이동시키는 함수다
- 글 작성할 때 category 필드에 숫자가 들어가야 하는데 url은 문자로 되어 있어서 글 작성이 되지 않는다
- 이것도 좀 오래 고민을 하다가 발견했다...ㅋㅋ바보...ㅠ
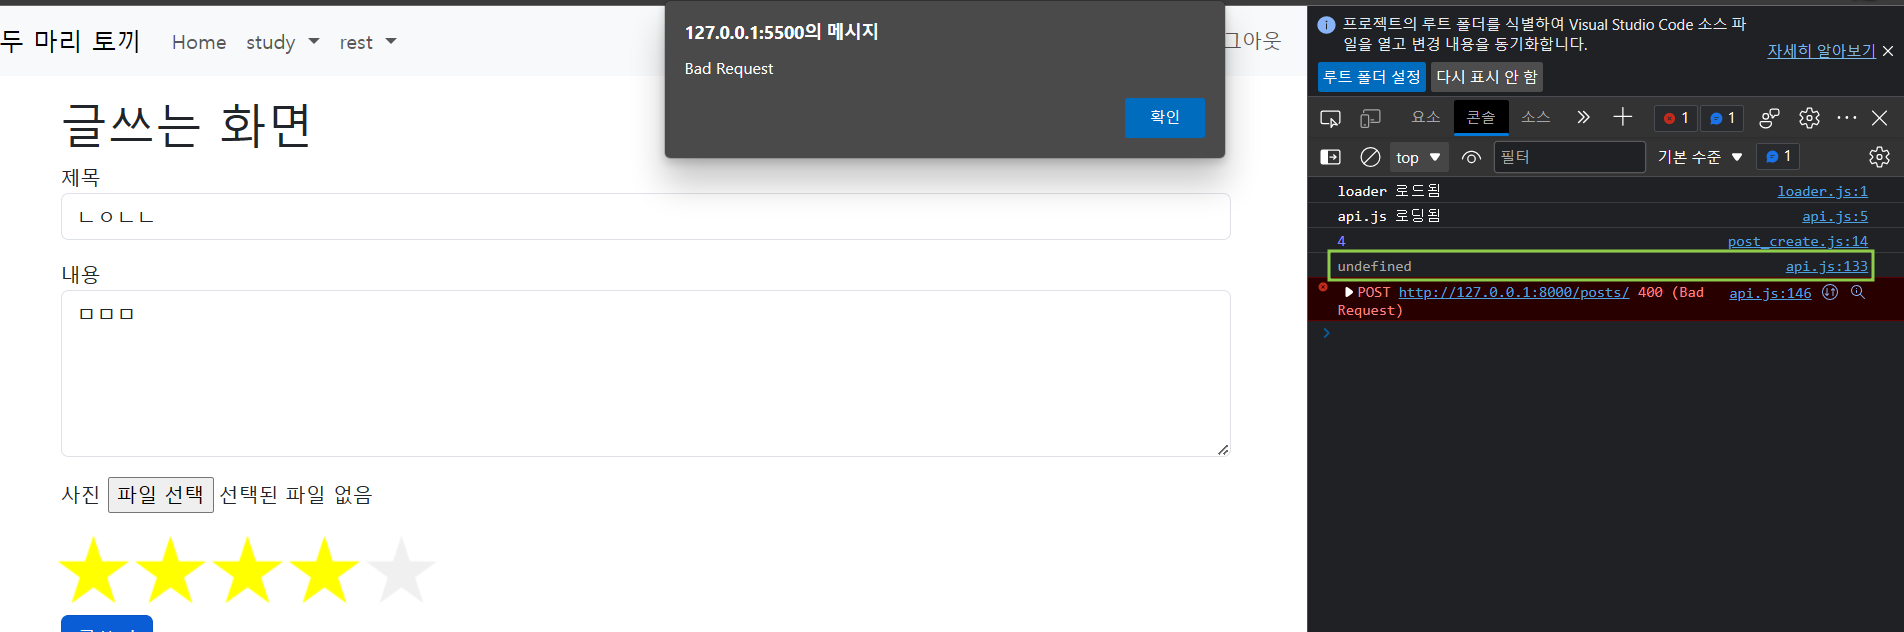
- 글쓰기 페이지로 가면 글 작성 html이 있다
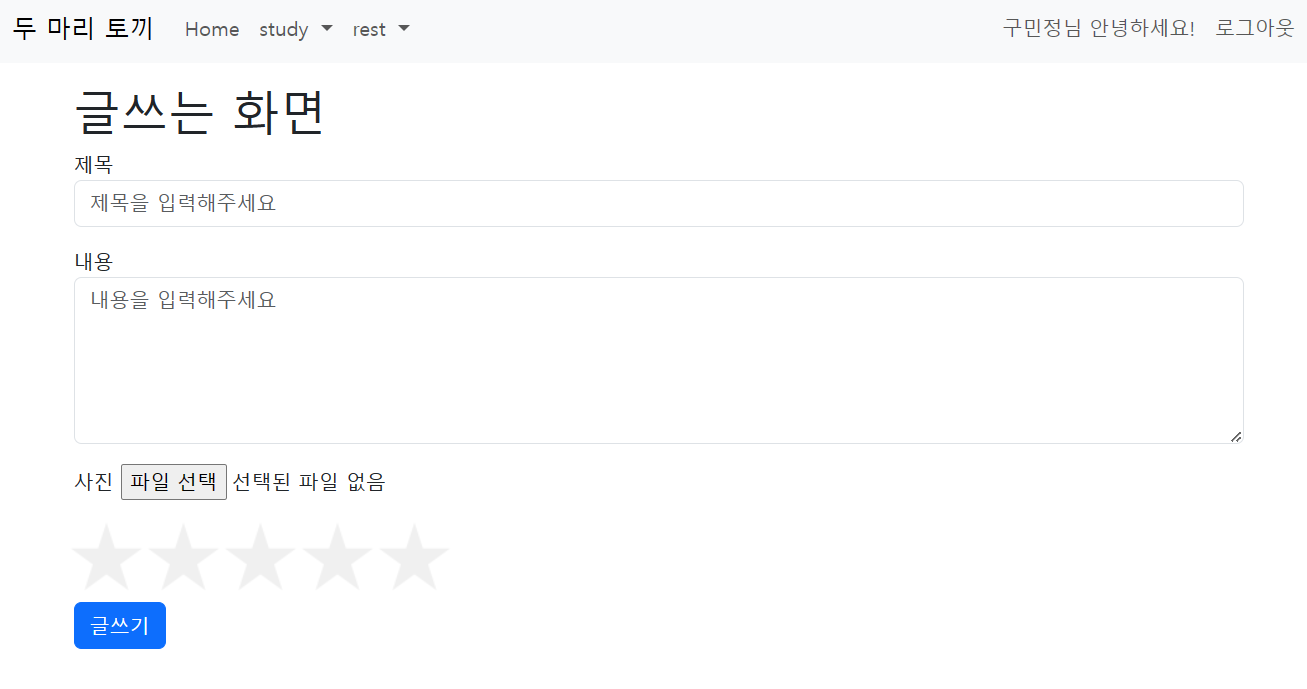
- 원래 별은 없었고 제목이랑 내용을 입력해도 계속 400 Bad Request가 떠서 왜 그러나.....하다가 카테고리에 문제가 있는 걸 알고 핸들포스트버튼 함수를 변경했고 카테고리 값으로 정수가 잘 들어가는데 왜 안 되지 하다가
- 별점이 필수항목이라는 것을 깨달았다...
- 그래서 별점 기능을 추가했는데 이건 내가 짠 건 아니고 정보가 가득한 인터넷 세상에서 퍼왔다..ㅎ
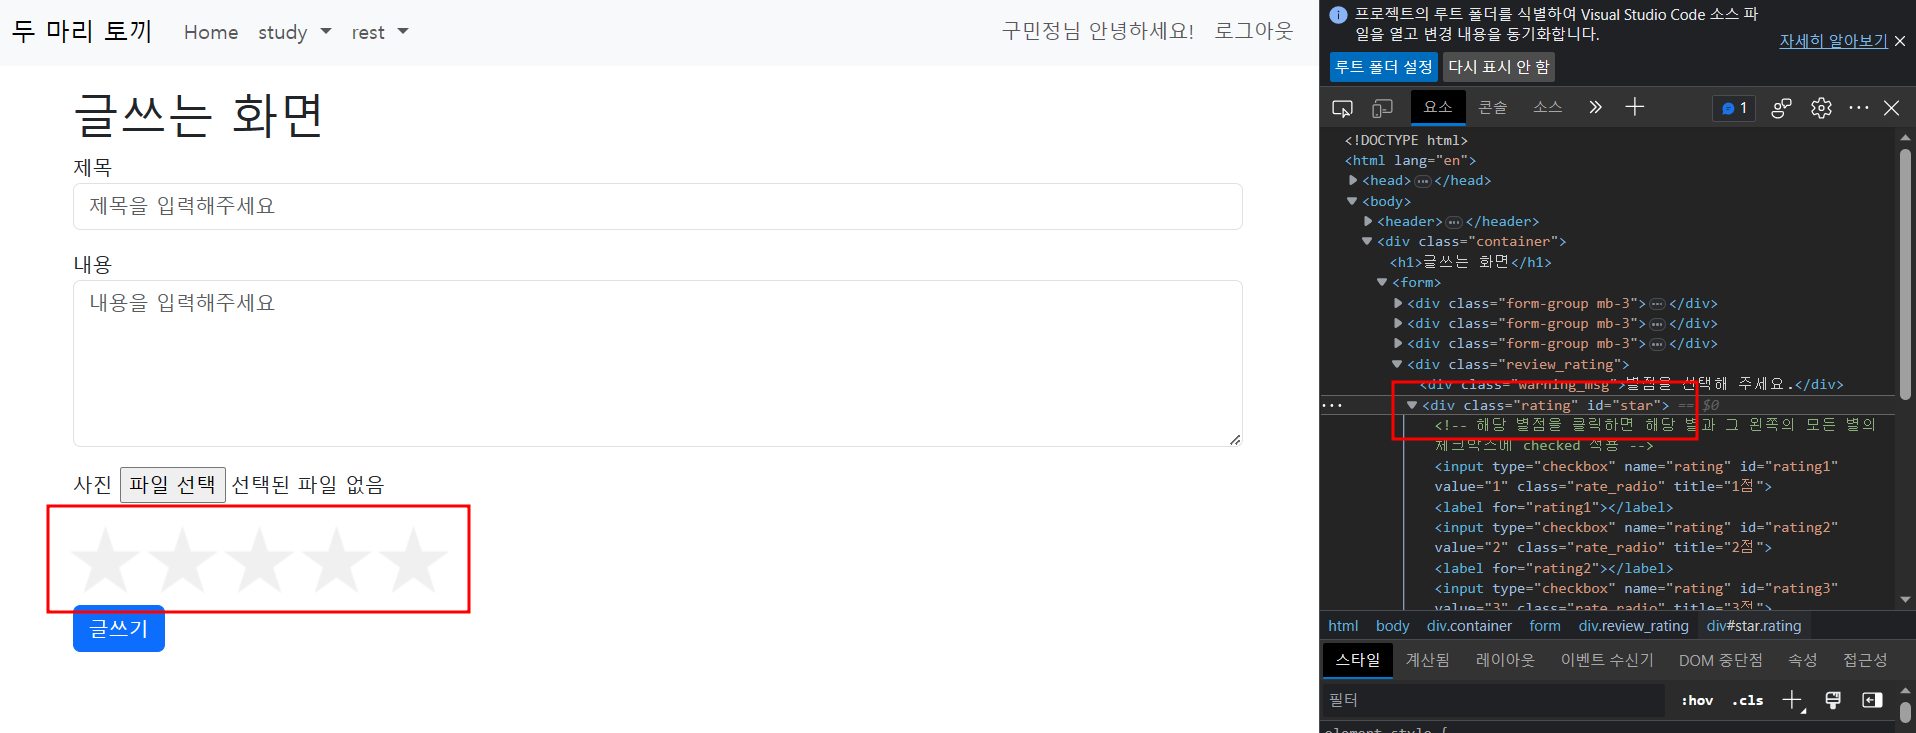
- 문제는 이 별점 값을 어떻게 1~5 숫자로 환산해서 데이터에 넣느냐는 것이었다
- 별점 기능을 하는 js부분에서 콘솔로그를 찍어본 결과 왼쪽부터 차례대로 1,2,3,4,5의 값이 담기는 것을 알았다
// post_create.js

const rating_input = document.querySelector('.rating input');
const rating_star = document.querySelector('.rating_star');

//별점 마킹 모듈 프로토타입으로 생성
function Rating() { };
Rating.prototype.rate = 0;
Rating.prototype.setRate = function (newrate) {
    //별점 마킹 - 클릭한 별 이하 모든 별 체크 처리
    this.rate = newrate;
    console.log(this.rate)
    let items = document.querySelectorAll('.rate_radio');
    items.forEach(function (item, idx) {
        if (idx < newrate) {
            item.checked = true;
        } else {
            item.checked = false;
        }
    });
}
let rating = new Rating();//별점 인스턴스 생성

document.addEventListener('DOMContentLoaded', function () {
    //별점선택 이벤트 리스너
    document.querySelector('.rating').addEventListener('click', function (e) {
        let elem = e.target;
        if (elem.classList.contains('rate_radio')) {
            rating.setRate(parseInt(elem.value));
        }
    })
});- 여기서 콘솔로그가 찍힌 this.rate에 별에 대한 값으로 1~5가 담긴다
- 이 값을 html에 별점 div 부분에 value값으로 넣고 싶었다
// post_create.html
...
    const star = document.getElementById("star")
    star.setAttribute("value", this.rate)
...- 그래서 콘솔로그 찍힌 부분에 위 문장을 추가했다
- html에서 star라는 id값을 가진 태그를 가져와서 star에 넣고
- 그 태그에 value 값으로 this.rate를 넣었다
- 그러고 html에 가서 해당 div를 보니 선택한 별에 따라 value값이 잘 들어가는 것을 확인했다
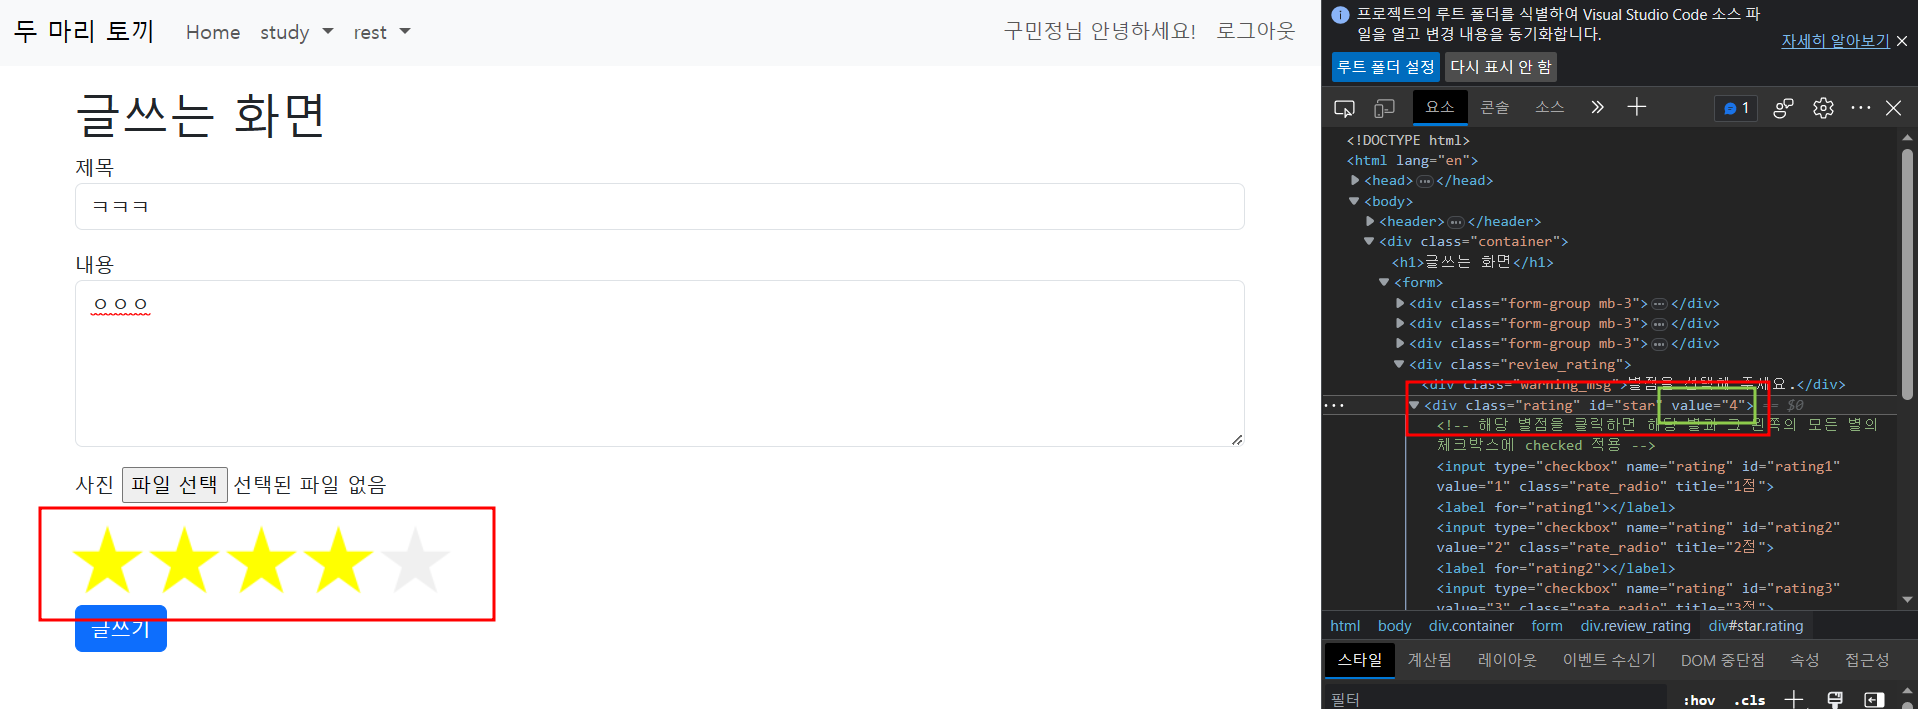
- 이제 이 value값을 가져와서 데이터에 저장하고 싶다
// api.js
// 게시글 작성
async function createPost(url) {
    const urlParams = new URLSearchParams(url);
    const category = urlParams.get("category");
    const title = document.getElementById("title").value;
    const content = document.getElementById("content").value;
    const image = document.getElementById("image").files[0];
    const star = document.getElementById("star").value;
...
}- 마지막 줄을 보면 .value로 값을 가져오려고 했다
- console.log(star)를 했는데 undefined가 뜬ㄷ...ㅏ....
- 이게 2시인가 3시인가 그래서 집중 코딩 시간이라 튜터님들도 안 계셨다....또 혼자 구글링하고 팀원들한테 물어보고....
- 해결이 안 됐다
- 결국 5시가 되고....튜터님께 찾아갔다....
- 정답은..
// api.js
...
    const star = document.getElementById("star").getAttribute("value");
...- .getAttribute()였다,,,,,,,,후,,,,,,,,그렇구나 이렇게 또 배워간다
- 저렇게 고치니 글 작성도 제대로 되고 DB에 저장도 잘 된다
<댓글 삭제>
- 팀원분이 comment_id 부분이 계속 undefined가 뜬다고 해서 같이 고민하다가 해결한 문제다
- 일단 게시글을 불러오면 그 안에 comments가 있고 그 안에 id값이 있다
- post_id를 이용해서 댓글들만 가져오는 것도 구현이 된 상태였다
- 그게 어디 있을까 고민을 하면서 콘솔로그를 있을 것 같은 곳마다 다 찍어봤다
// post_detail.js
...
async function loadComments(postId) {
    const response = await getComments(postId);
    console.log(response)

    const commentsList = document.getElementById("comments-list")
    commentsList.innerHTML = ""

    response.forEach(comment => {
        commentsList.innerHTML += `
        <li class="media d-flex mt-2 mb-2 mr-2 border border-dark">
        <img class="img-thumbnail" src="https://img.freepik.com/free-photo/cute-ai-generated-cartoon-bunny_23-2150288879.jpg" alt="profile img" width="50" height"50">
        <div class="media-body">
            <h6 class="mt-1 mb-1 ms-1 me-1">${comment.user}</h6>
            <span class="mt-1 mb-1 ms-1 me-1">${comment.comment}</span>
        </div>
        <div class="col d-grid gap-2 d-md-flex justify-content-end p-2">
            <button type="button" class="btn btn-primary" onclick="deleteComment(${postId}, ${comment.id})">삭제</button>
        </div>
        </li>
        `
    });
}- 답은 여기에 있었다
- response를 찍어봤는데 흠...잘 모르겠다
- response를 하나씩 빼낸 forEach문에 있는 commet를 찍어봤다
- 하나의 댓글 객체였다
- 바로 id를 찍으면 될 것 같았다 그게 정답이었다...!!
- 삭제버튼 클릭하면 실행되는 함수에 매개변수로 post id랑 comment id를 담았다
// api.js
//댓글 삭제
async function deleteComment(postId, commentId) {
    let token = localStorage.getItem("access")

    const response = await fetch(`${backend_base_url}/posts/${postId}/comments/${commentId}`, {
        method: 'DELETE',
        headers: {
            'content-type': 'application/json',
            "Authorization": `Bearer ${token}`
        },
        body: JSON.stringify({
            "id": commentId,
        })
    })

    if (response.status == 204) {
        response_json = await response.json()
        return response_json
    } else {
        alert(response.statusText)
    }
}- 원래는 함수가 이렇게 짜여있었다
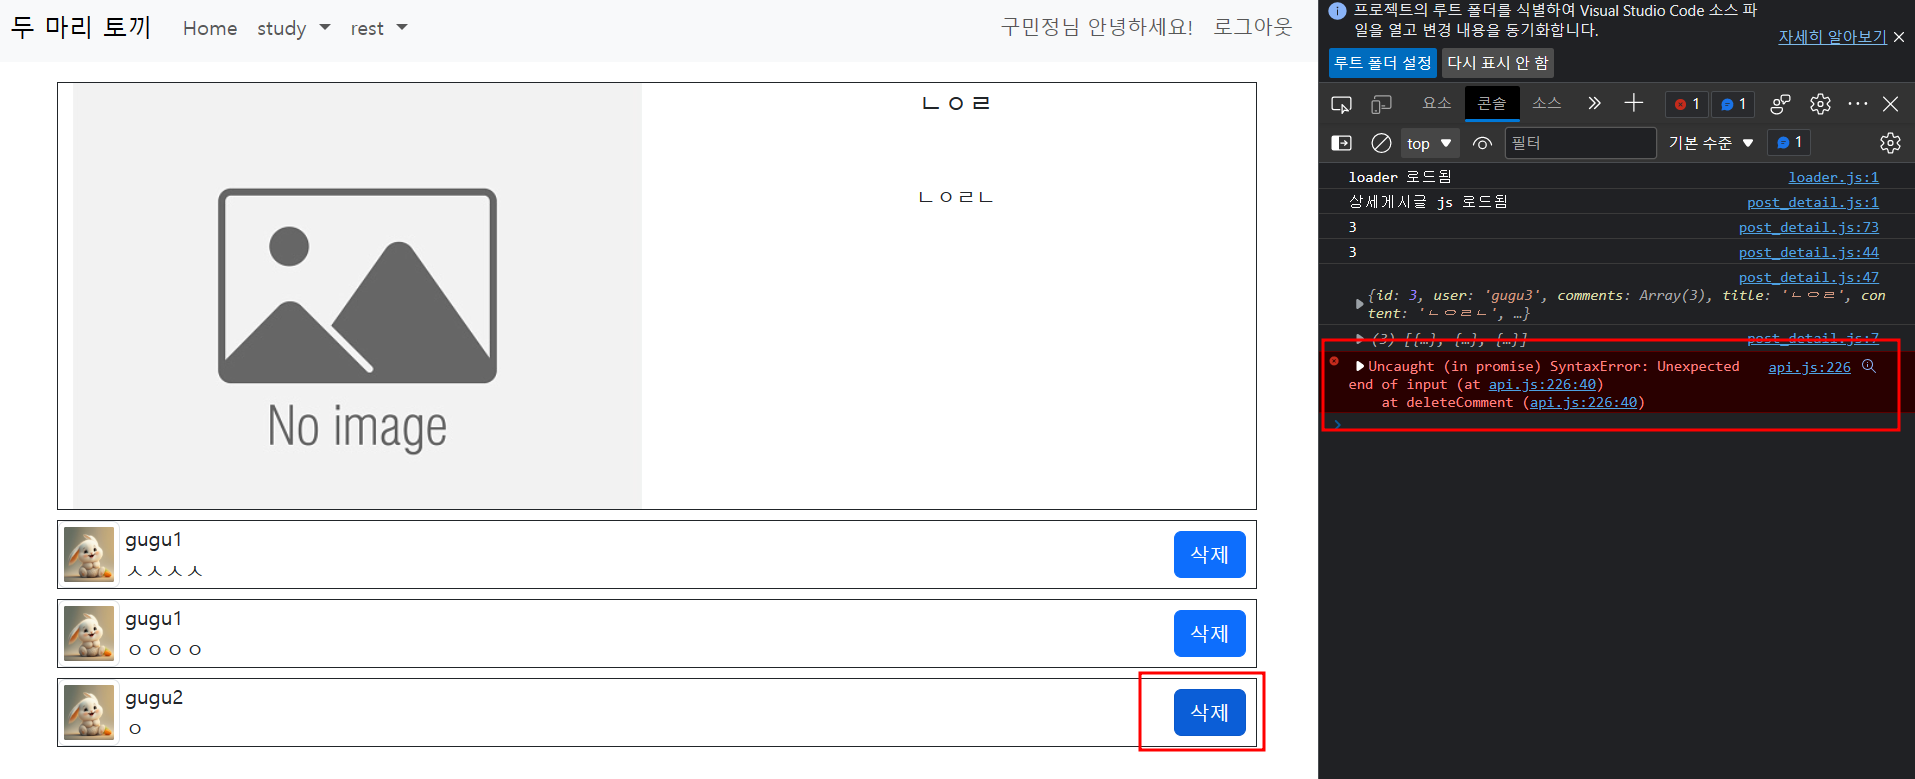
- 댓글 삭제 동작은 하는데 저런 에러코드?가 뜨고 새로고침을 해야만 댓글이 삭제된 것을 알 수 있었다
- 또 뚫어지게 코드를 본 결과..일단 response.status == 204 일 때 response를 json 형태로 바꿔서 리턴하는 게 눈에 띄었다
- 댓글을 삭제하면 객체가 없어서 반환할 게 없을 텐데...? 싶었다
- 그래서 그 부분을 삭제하고 alert("댓글삭제완료!)로 바꿨다
- 그랬더니 콘솔창에 빨간 에러코드는 안 뜨는데 창이 그대로 있어서 수동으로 새로고침을 해야만 댓글이 삭제된 것을 확인할 수 있었다
- replace를 이용해 새로고침 코드를 넣어야겠다고 생각했다
- 그렇게 댓글을 작성하고 삭제하면서 보니까 댓글을 등록할 때는 새로고침을 굳이 하지 않아도 그냥 댓글이 추가된다는 것을 깨달았다
- 오 이 기능은 뭐지 하고 보니까 loadComments()라는 함수가 있었다
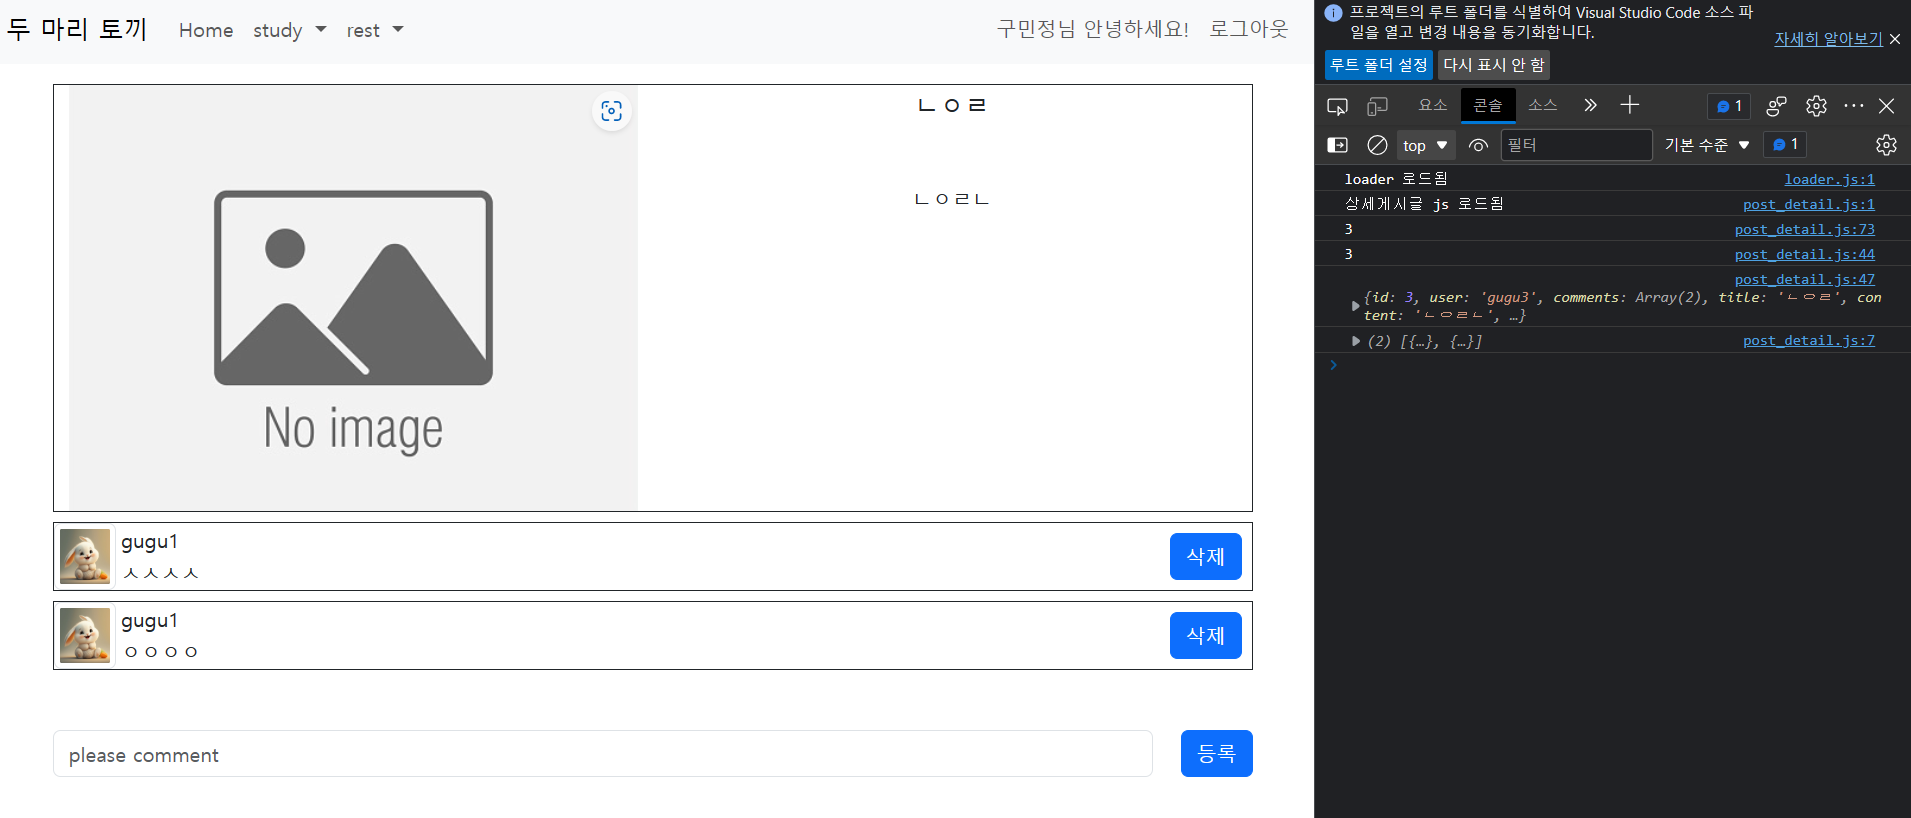
- alert()창 다음에 해당 코드를 넣으니까 삭제할 때도 새로고침하지 않아도 댓글만 사라지는 것을 확인할 수 있었다
// api.js
//댓글 삭제
async function deleteComment(postId, commentId) {
    if (confirm("정말 삭제하시겠습니까?")) {
        let token = localStorage.getItem("access")

        const response = await fetch(`${backend_base_url}/posts/${postId}/comments/${commentId}/`, {
            method: 'DELETE',
            headers: {
                'content-type': 'application/json',
                "Authorization": `Bearer ${token}`
            },
            body: JSON.stringify({
                "id": commentId,
            })
        })

        if (response.status == 204) {
            alert("댓글 삭제 완료!")
            loadComments(postId);
        } else {
            alert(response.statusText)
        }
    } else {
        loadComments(postId);
    }
}- 바로 댓글이 삭제되면 당황할 수도 있으니까 정말 삭제하겠냐는 확인창을 추가했다